The ArcSyn-0 Raspberry Pi Synthesiser
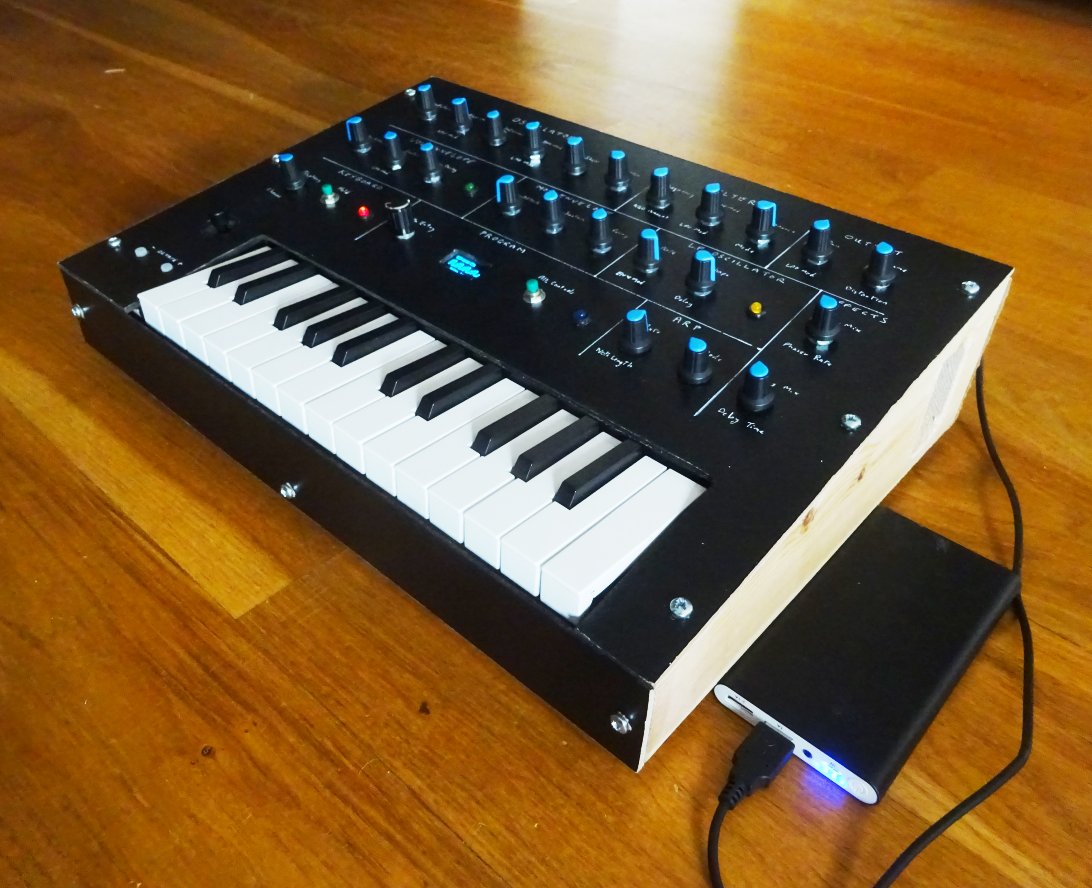
Having successfully built my bat detector using a Raspberry Pi zero, I thought I'd try something more ambitious to see how far the Pi zero could be pushed - I decided to built a synthesiser. I've made various VST plugins in the past, so I knew roughly what I was letting myself in for, but it turned out to be a bigger project than I had anticipated - not least the mechanical/woodworking side of it.
I investigated various 'bare-metal' programming environments for the Pi, and decided to use Circle, a very comprehensive but quick-to-boot environment developed by Rene Stange. It took a little while to set up a build environment for it on my Windows PC, but I got there in the end. Circle is great, well worth a look if you fancy trying anything low-level using a Pi.
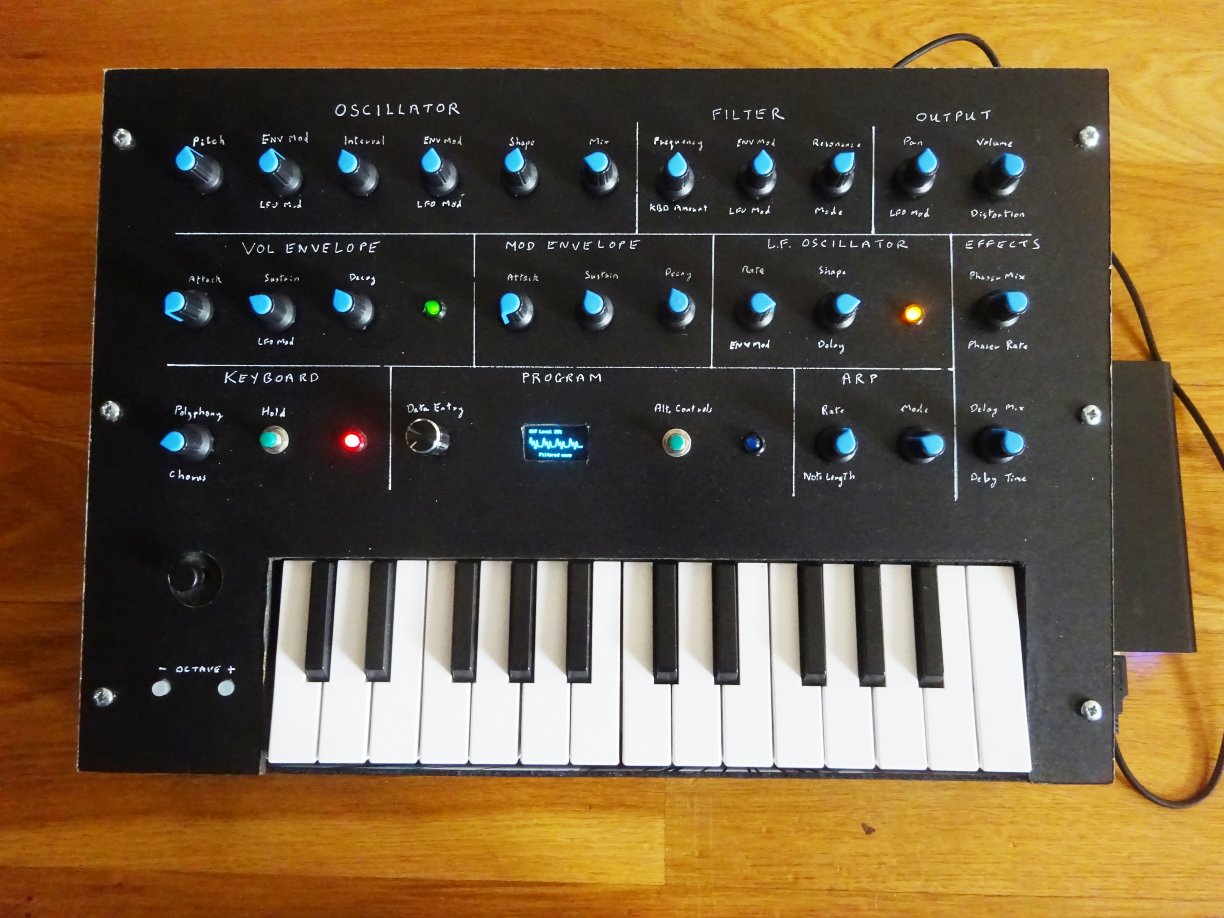
My son had recently bought himself a Korg Monologue, and I loosely based the spec of my synth on that model - although there seems to be a large number of similarly specced synths coming onto the market at the moment. I wanted to follow the classic Oscillator->Filter->VCA + LFO architecture, but I also wanted some onboard effects to add depth to the sound. I would have also liked to have added a full-blown sequencer to allow some Tangerine Dream-like sequences to be played, but the UI proved problematic so I added an arpeggiator with some interesting modes instead. I had a nice little OLED display module asking to be used, so I decided to incorporate it in the synth as an oscilloscope and for displaying control values.

The main sound source is a dual oscillator with an adjustable (and modulatable) interval between them, plus a sub-octave generator. The waveform can be morphed through sine, triangle, pulse, square, saw, pink noise. The two oscillators can be combined by mixing, mixing with the sub-octave, hard-sync, or ring modulation - and various blends of these.
The filter is a Moog-like 24 dB/Octave Lowpass or Highpass filter. It can be controlled by a secondary envelope generator or the LFO. The primary envelope generator controls the amplitude envelope, and the secondary can modulate the filter, one or both oscillators, or the LFO rate. Both envelopes are Attack/Sustain/Decay envelopes, with the decay control also setting the release time when a key is lifted. This was a compromise to reduce the number of controls. Both envelope generators can also be run in a continuous looping mode if the Sustain value is set to zero, meaning they can serve as a kind of secondary LFO and/or arpeggiator.
The LFO covers all the usual shapes, continuously morphing through sine, square, saw down, triangle, saw up, random sample/hold, and random smooth. It can be free-running or synchronised to various multiples of the arpeggiator frequency for interesting rhythmic effects.
The arpeggiator has Up, Down, Up/Down and Random modes, and two Up/Down modes that alternately play the lowest held note, for a rhythmic bass effect.
The keyboard controller has adjustable glide control, and a 'hold' mode which is great for setting the arpeggiator going and then just twiddling some knobs to see what happens.
For onboard effects, I added a phaser and a delay (with mono or stereo ping-pong modes). I also later added a stereo chorus effect.
Once I had the basic synthesis engine running, I found there was still some CPU left, so I decided to make the synth polyphonic. This complicated things a bit in the area of allocating a voice to each note played, but I found I could have up to 6-note polyphony before the sound started stuttering. That also allowed for a 'unison' mode where all 6 voices play the same note with a variable amount of de-tuning, for a fuller sound.

As for the electronic hardware, I used three MCP3008 8-channel analog converters, to give 24 analog input channels with some external logic to multiplex between them. The controls tended to be a bit unstable in the values they returned, so I had to add some hysteresis in software so that I could (a) detect when the control was really being turned, and (b) not have the main oscillator tuning drift around randomly. Adding hysteresis fixed these issues although it's not an ideal solution.
Unfortunately, I found that 24 channels was not quite enough for all the controls I wanted to include, so I had to add a 'shift' button that allows some knobs to control a secondary value. This (along with loading presets) means that sometimes a control's position does not match up with the value it is controlling - in this case you have to rotate the control 'through' the current value in order to reconnect it to the parameter without causing abrupt changes in value. Again, it's not ideal but it's a workable compromise that allows a fuller feature set without too many controls - and in practice it'd not hard to get used to. The OLED display indicates the current value of the parameter being adjusted and which way you need to adjust the knob in order to reconnect.
I bought a nice ferromagnetic non-volatile RAM module for storing patch settings, and the hysteresis values, so that when you power up the synth its tuning is the same as when you last powered down, unless the control has been adjusted by an appreciable amount.
Initially I used the PCM outputs from the Pi to produce an audio signal, but this proved to be a little too noisy so I added an I2S audio module. I also built in a small amplifier and some old PC speakers, so the synth can be played as a standalone instrument. There is also a headphone/aux socket.

The keyboard is taken from a Korg Microkey-25 USB keyboard (purchased from eBay) along with the joystick and octave up/down buttons - it talks to the Pi via USB. The synth also has a socket for an external USB keyboard - I had to make this switchable rather than plug-and-play, partly because the Circle library didn't like USB hot-switching, but also because it would have meant using a USB hub which seemed to introduce a lot of extra code and slowed the whole system down too much.
I also added a 5-pin serial MIDI input for controlling the synth from a PC audio package. At present it only implements note-on/off and a couple of controller messages - I may extend this in the future.
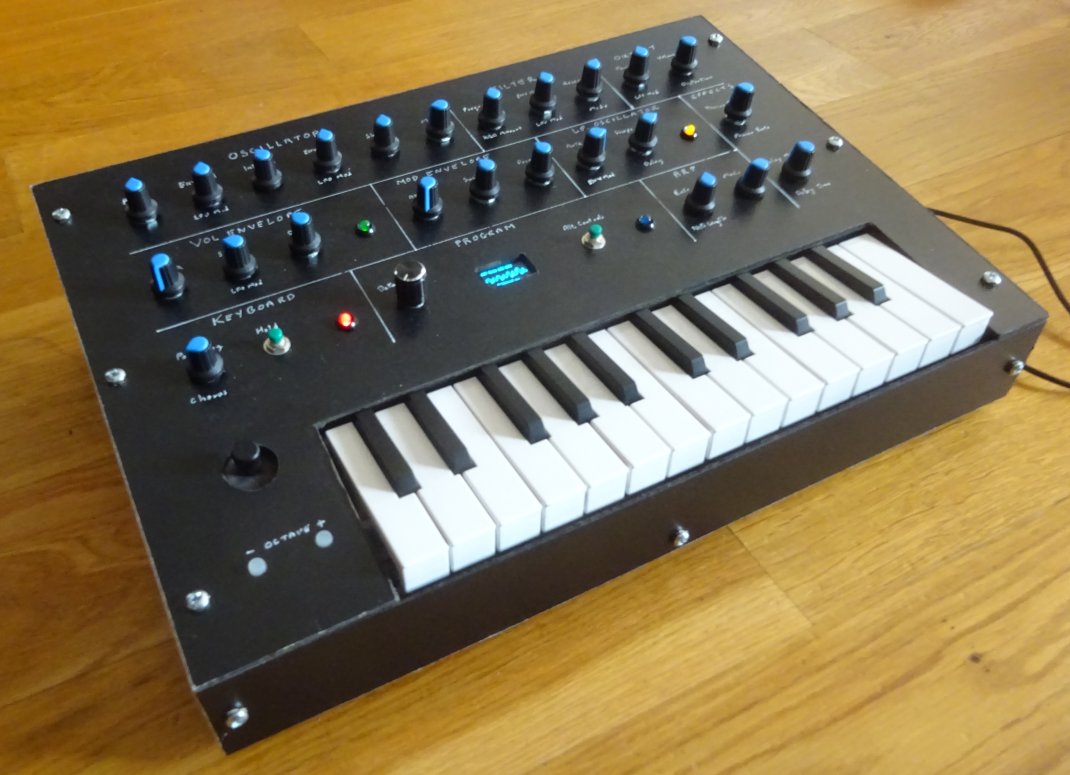
Finally, I built a case for the synth, using the black hardboard backing from a tacky picture from Poundworld for the main panel, and some pine board for the sides. It might not look like it, but building the case and mounting the keyboard and joystick was a significant fraction of the total work in the project!
All in all, it took about 3 months from installing Circle to screwing the lid down on the case for the first time.
Apart from my time, and a few extra purchases made along the way (I bought a Hamtek USB oscilloscope after two old analog 'scopes I brought down from the loft scarily went up in smoke shortly after powering them up), the whole project probably cost arond £100-£150. For a little more I could have bought a Korg Monologue, but for me a large part of the fun was designing and coding the synth, and getting all the electronics working together - and I now have a synth which I can extend or modify if I feel like it.
Finally, I chose the name ArcSyn-0 for a number of reasons:
1. It is (obviously) a Synth!
2. Arc are an inspirational band if you like Berlin-school electronic music.
3. It is based on the Raspberry Pi Zero
4. Arcsin(0) is π, amongst many other values!
And then, at last, I got to play the thing and recorded its output in Audacity. Here are the first two recordings made with the finished synth.
Undulations.mp3 - I used the looping envelope generator as a kind of sequencer, and set it going with 4 notes played at fairly long intervals - then twiddled knobs for 15 minutes! It's a kind of relaxing, hypnotic piece:
Sequence1.mp3 - A shorter Berlin-school-inspired piece based around an arpeggiated sequence, consisting of seven tracks recorded and mixed in Audacity. A bit rough around the edges, but it shows some of what the synth can do.
So what's the next Pi project going to be? Watch this space...